Configure Named Credential
A Named Credential is used by the package to make API requests to:
- Account Engagement
- Retrieve Form Handler details
- Retrieve Custom Fields
- Upsert Prospect
- Salesforce Platform
- Deploy Marketing App Extensions (for External Actions)
Create External Credential
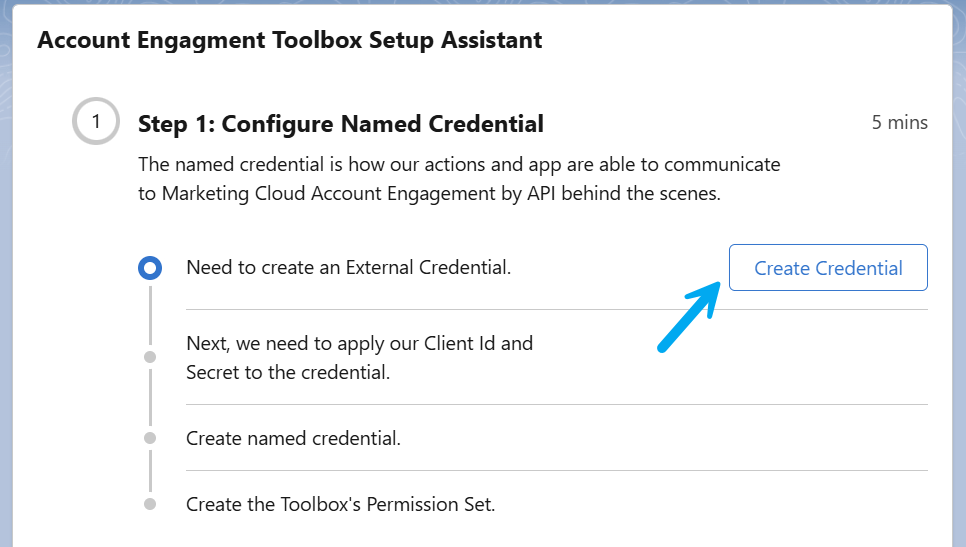
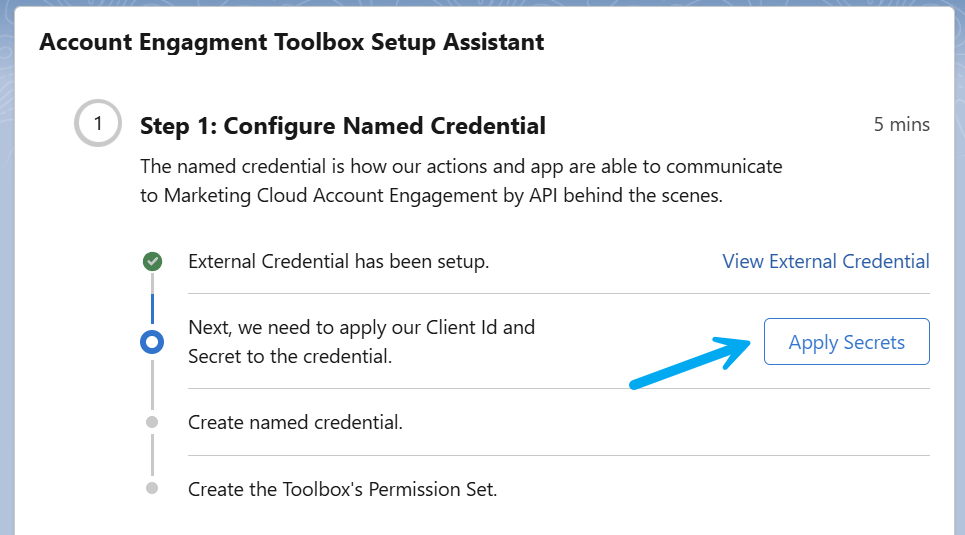
The first step in our Setup Assistant is to create an External Credential. This will be used to allow the Named Credential to authenticate to Salesforce.
Click the Create Credential button and wait a few moments.
Behind the scenes, an External Credential with the name MCAE_Toolbox_piEC will be created, but it won't actually have our API keys setup just yet.
Create Named Credential
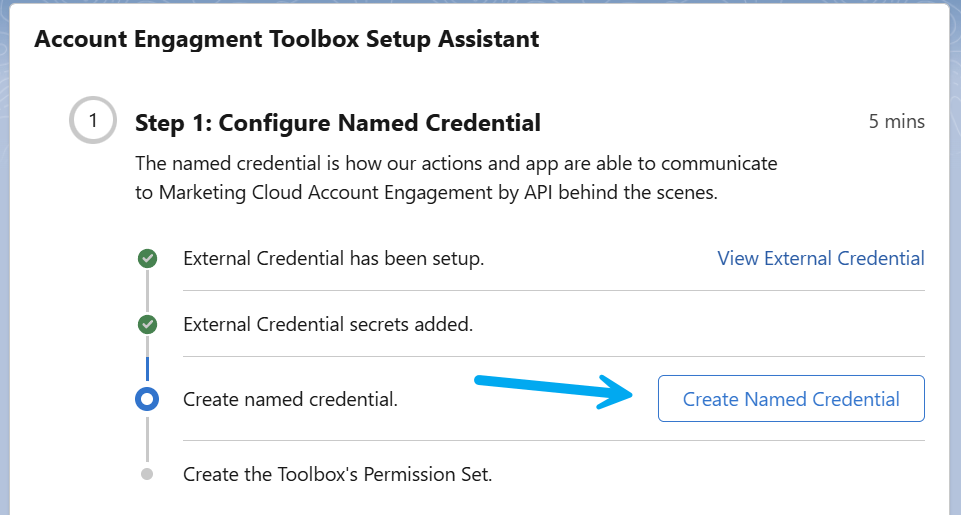
Next, the Named Credential will be created.
Click the Create Named Credential button and wait a few moments.
Behind the scenes, a Named Credential with the name MCAE_Toolbox_piNC will be created, referencing the External Credential we've already built.
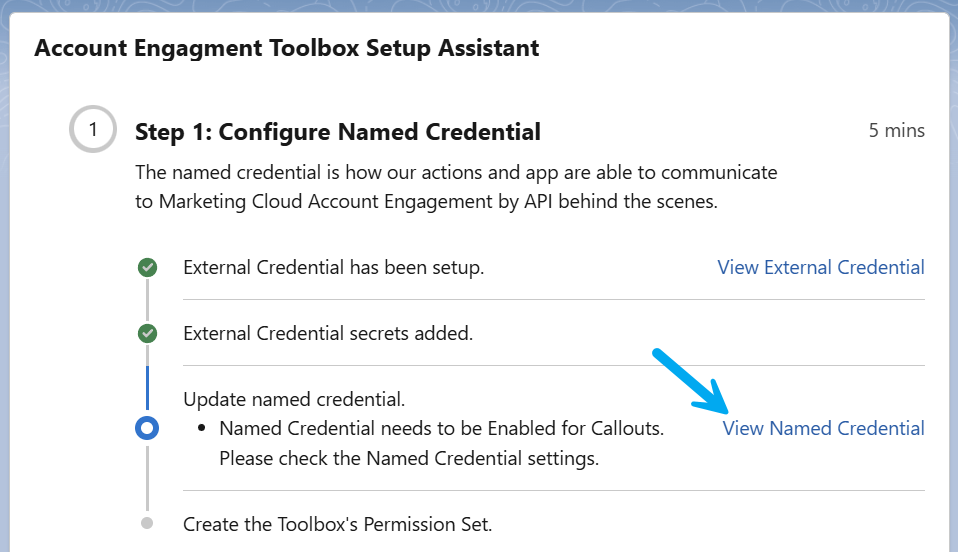
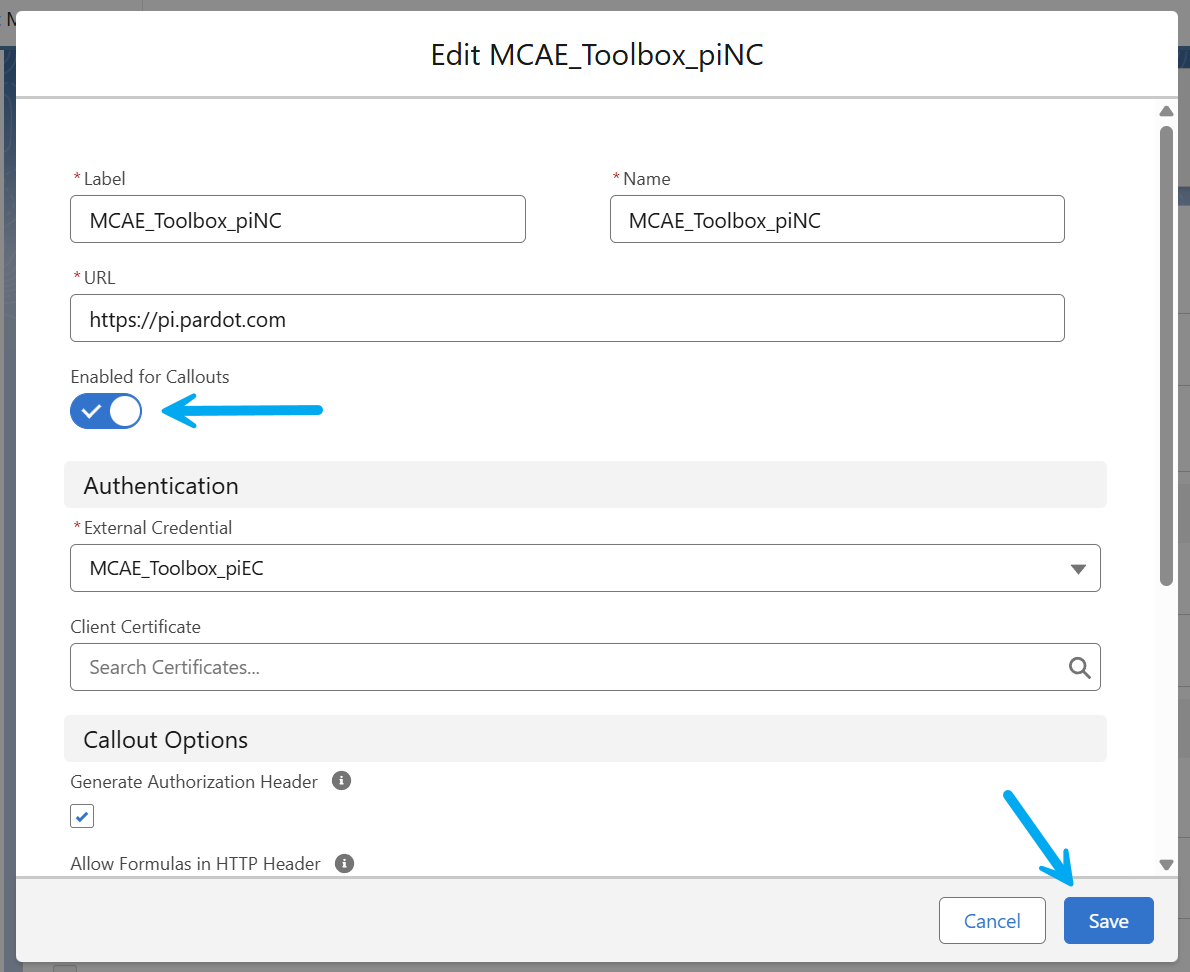
There is one thing we can't do when building the Named Credential automatically: Enable it.
Click the View Named Credential link to open the details in a new tab.
Click the Enabled for Callouts toggle to allow the Named Credential to be used.
Click Save.
Create Permission Set
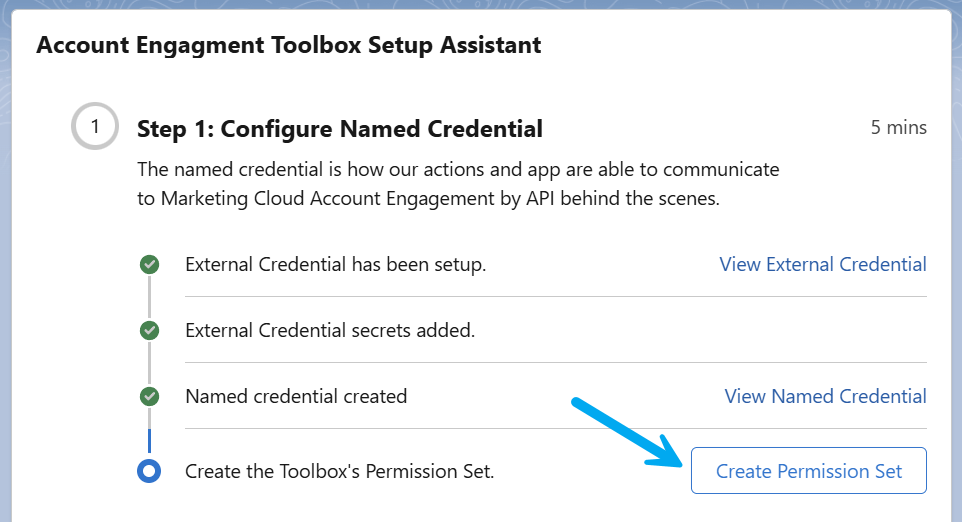
The last piece of this puzzle is to create a Permission Set that will grant access to this Named Credential to the Salesforce Users who need it.
First, click the Create Permission Set button.
Behind the scenes, a Permission Set with the name MCAE_Toolbox_API_Access will be created, with the External Credential applied to it.
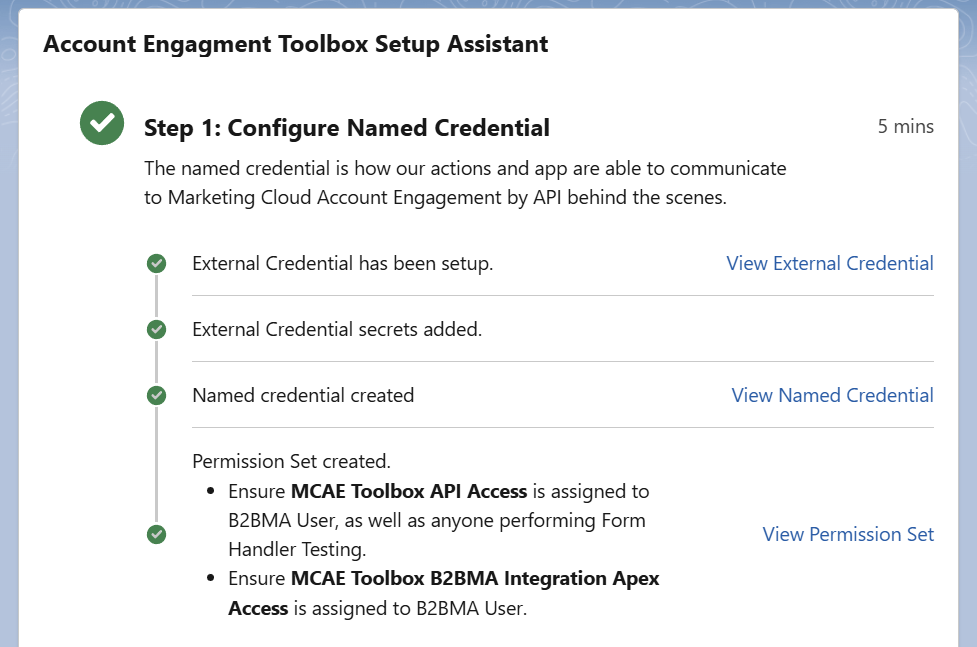
Next, click the View Permission Set button.
Assign the MCAE Toolbox API Access permission set to:
- The B2BMA Integration User (or the custom user you use for the Connector)
- Any Users who might be using the Form Handler Testing feature
Additionally, assign the MCAE Toolbox B2BMA Integration Apex Access Permission Set to the same B2BMA Integration User. This allows the user to execute the External Actions.

